ⓘ Important
This content applies to the Windows Virtual Desktop Fall 2019 release without Azure Resource Manager objects.
Click here for guides using Windows Virtual Desktop Spring 2020 update public preview with Azure Resource Manager objects.
In Part 2, you created a Windows Virtual Desktop tenant. Next, you will create a service principal, and then create a role assignment to allow the service principal to sign in to Windows Virtual Desktop. The service principal will be used to:
- Automate management tasks within Windows Virtual Desktop
- Run Azure Resource Manager templates instead of MFA-required users
Prerequisites
In order to create a service principal and a role assignment, you will need two PowerShell modules:
- AzureAD
- RDPowerShell
You should have RDPowerShell installed if you completed Part 2. Install and import the AzureAD module using the following cmdlets:
Install-Module -Name AzureAD
Import-Module -Name AzureAD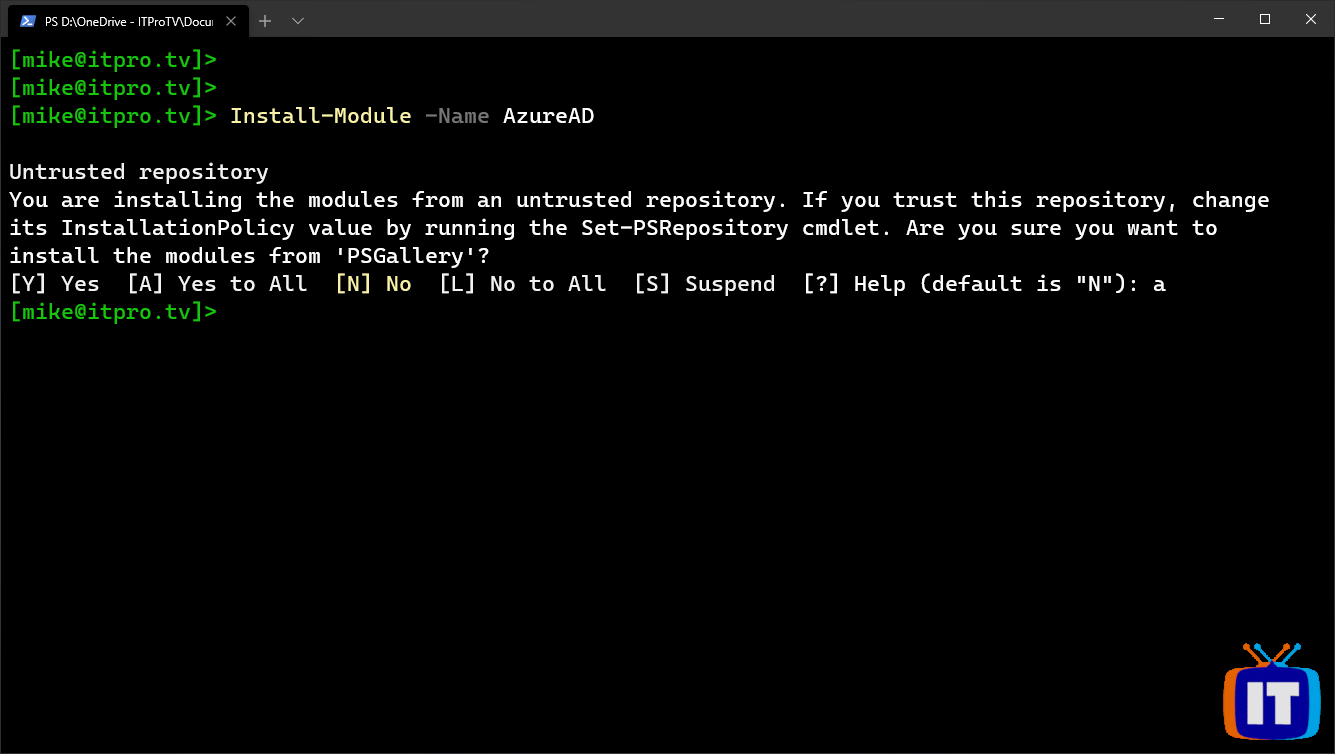
You will want to complete all of the following steps in the same PowerShell session. If you close PowerShell, and then launch PowerShell later, these steps might not work. This is because some information will be stored in variables, and will be lost if you end your session.
You should capture this information, in case something happens (what could go wrong?). I’ll show you how to view the information as well as send the information to a file. While saving the information to a file isn’t necessary, if the power fails, or some other gremlins attack, you might be glad you did.
Create a service principal in Azure Active Directory
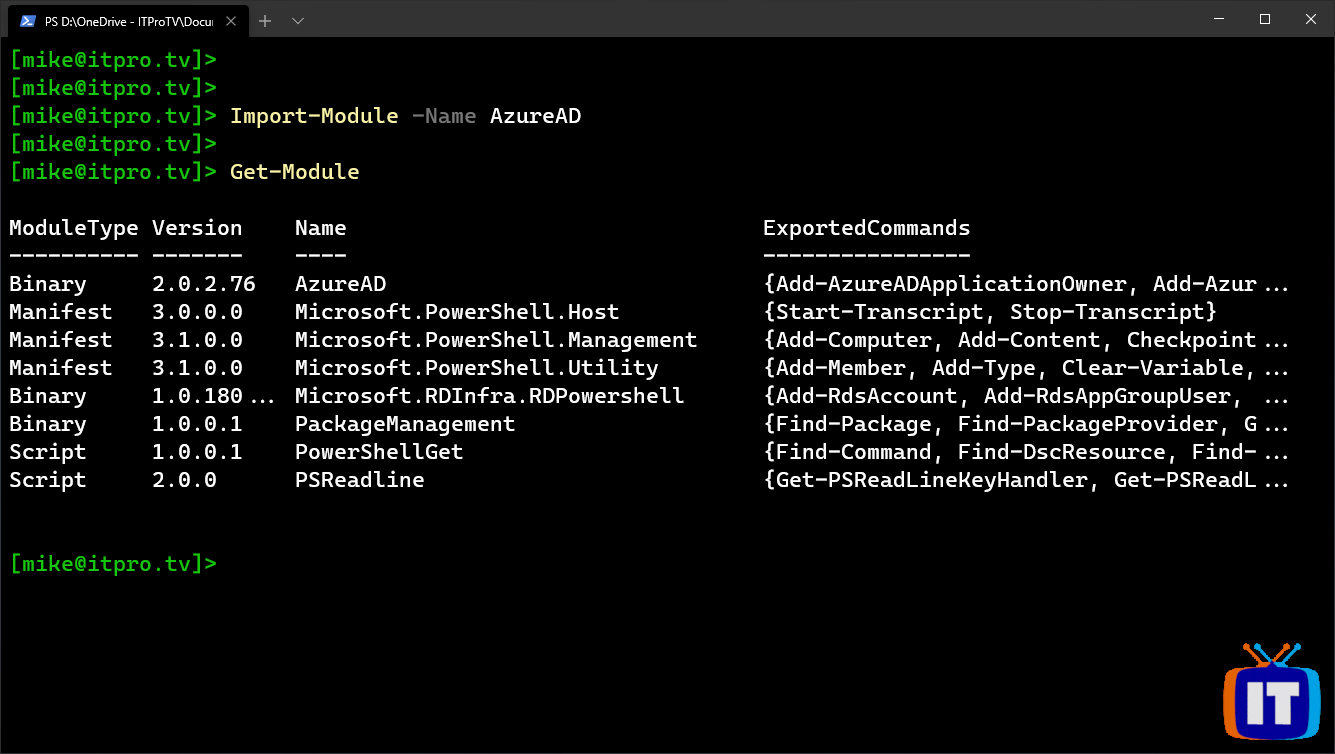
Sign in to Azure with the following cmdlet:
$aadContext = Connect-AzureAD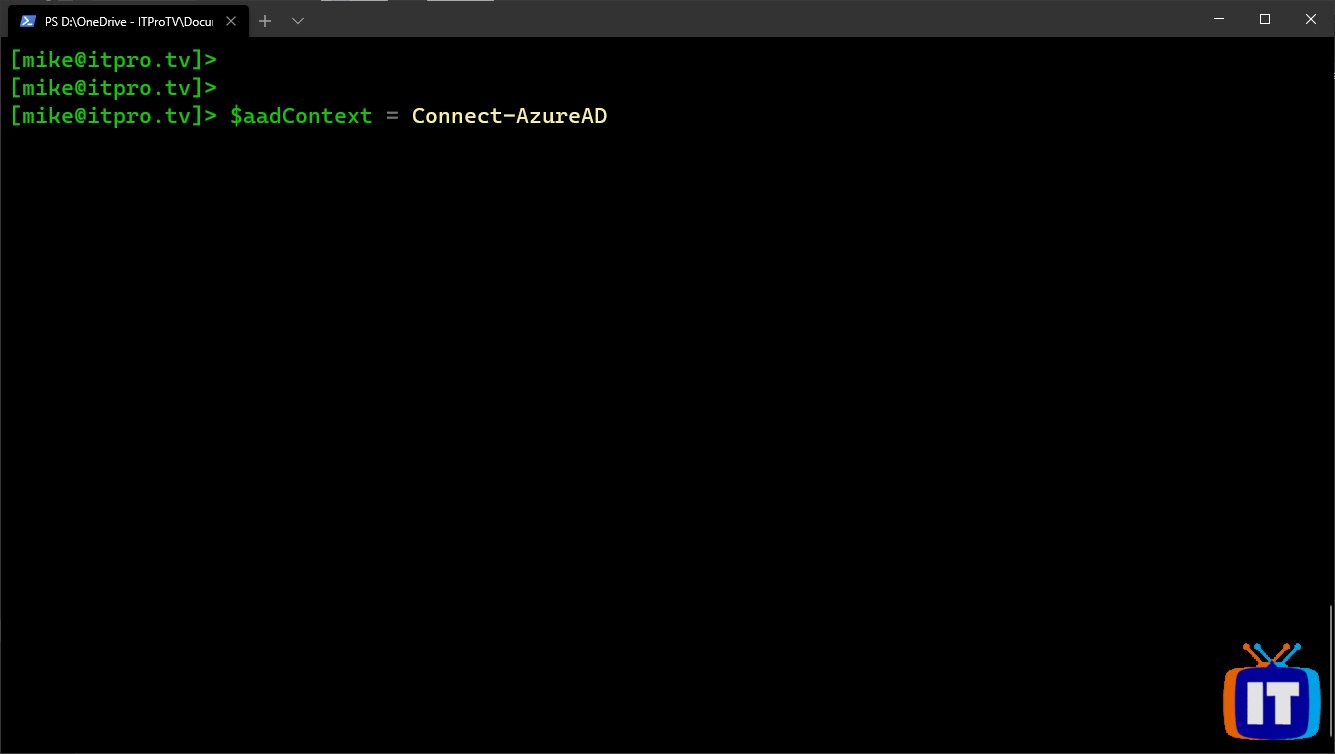
Then use the following cmdlets to create a service principal:
$svcPrincipal = New-AzureADApplication -AvailableToOtherTenants $true -DisplayName "WVD Svc Principal"
$svcPrincipalCreds = New-AzureADApplicationPasswordCredential -ObjectId $svcPrincipal.ObjectId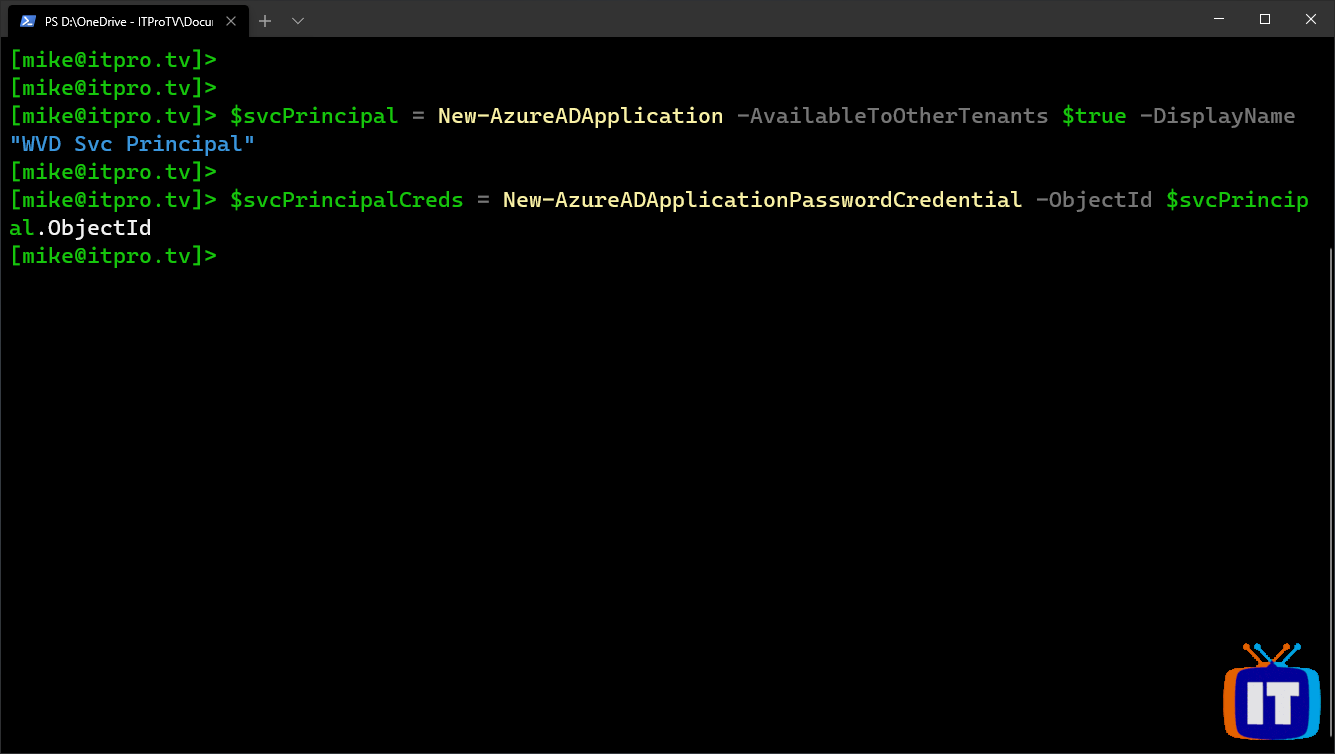
Now would be a good time to view and/or record this information, especially the generated password. First, the variable $aadContext contains your tenant ID, which you can get anytime from your Azure Portal. Second, the variable $svcPrincipal contains the application ID of the service principal you just created, which can also be retrieved later, if necessary. Third, the variable $svcPrincipalCreds contains the password generated for the service principal. If something happens, and your PowerShell session ends you will not be able to retrieve it later.
View and/or record the service principal credentials
While the password is the one piece of information that cannot be retrieved later, I like recording the tenant ID, application ID and password together, so I know which password went with which application ID. Make sure you store this information securely.
You can view the information in PowerShell, and write it down. Use the following cmdlets to display the values:
- Tenant ID
$aadContext.TenantId.Guid- Application ID
$svcPrincipal.AppID- Password
$svcPrincipalCreds.Value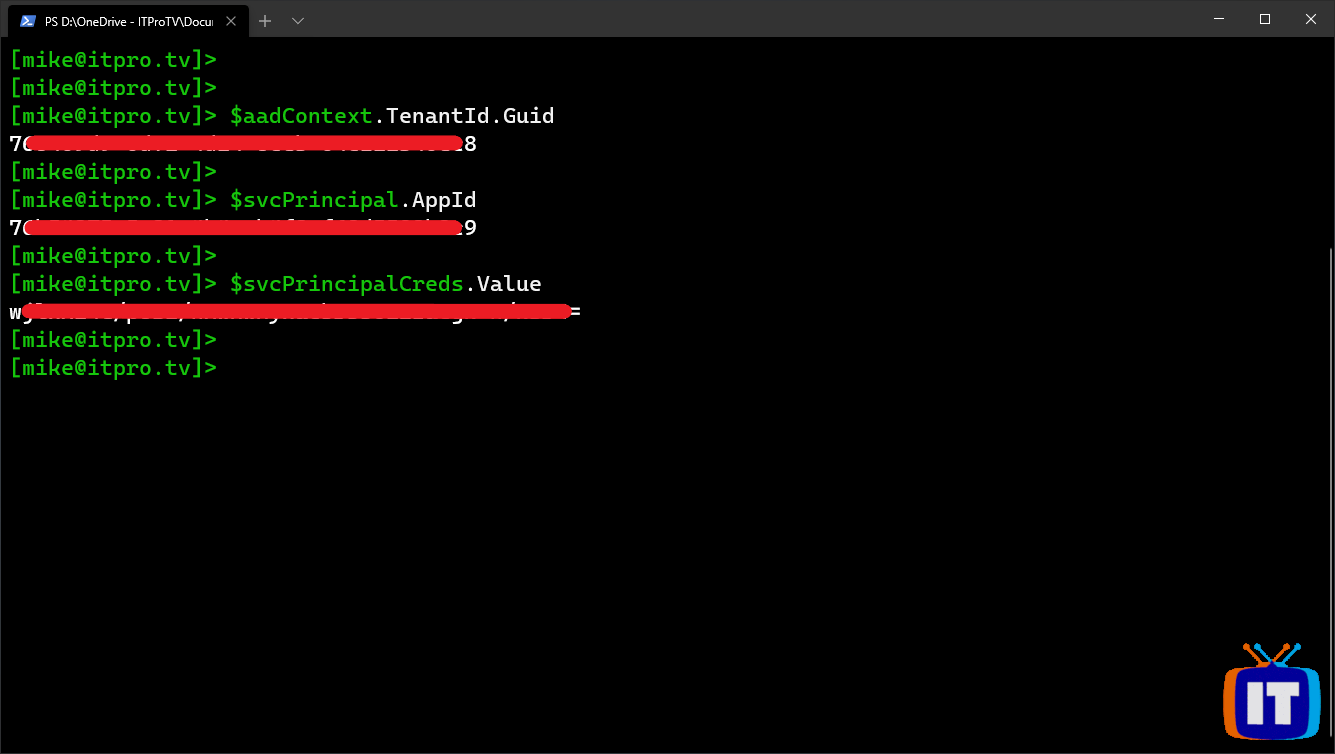
To write these values out to a file, you can use the following cmdlets, pressing enter after each one (replace “D:\WVD\” with a valid path):
$path = (New-Item -Type File -Path "D:\WVD\svc_creds.txt").FullName
$tenantID = "Tenant ID: " + $aadContext.TenantId.Guid > $path
$appID = "Application ID: " + $svcPrincipal.AppId >> $path
$pass = "Password: " + $svcPrincipalCreds.Value >> $path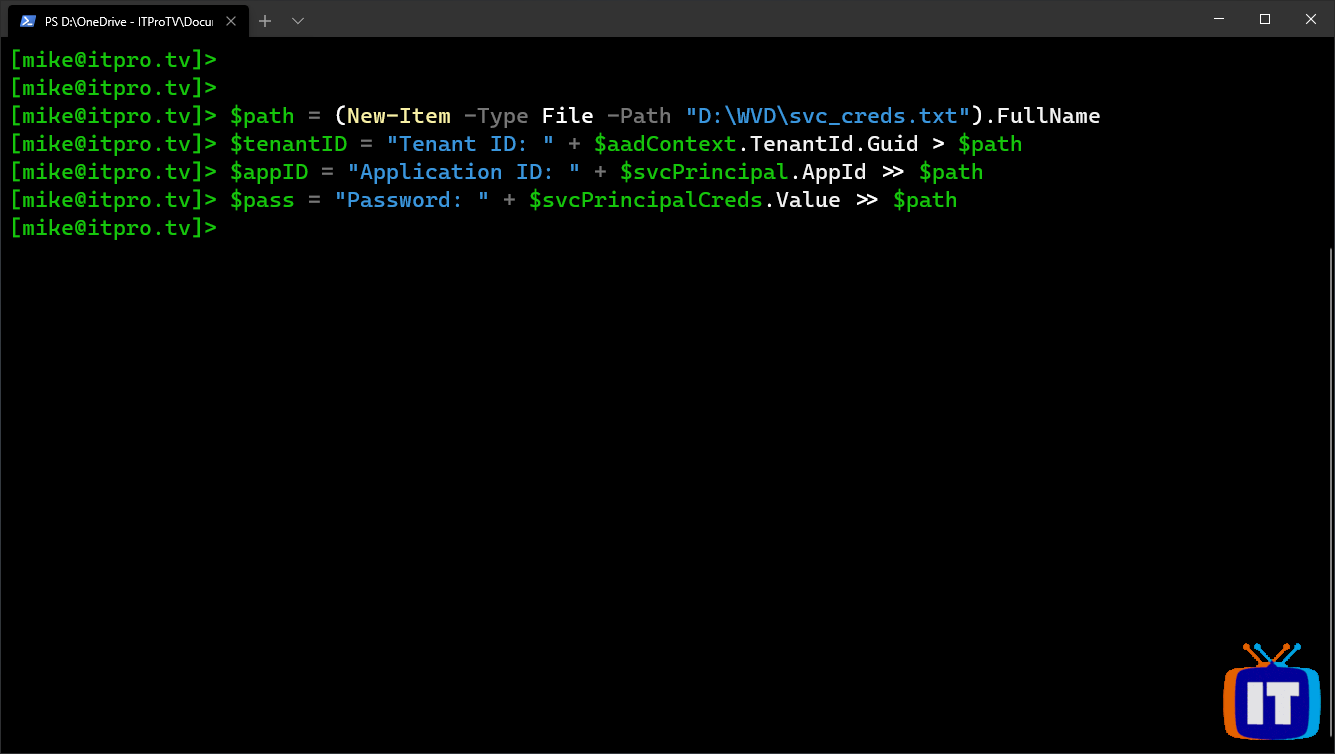
You can verify you captured the values with the following command:
cat $path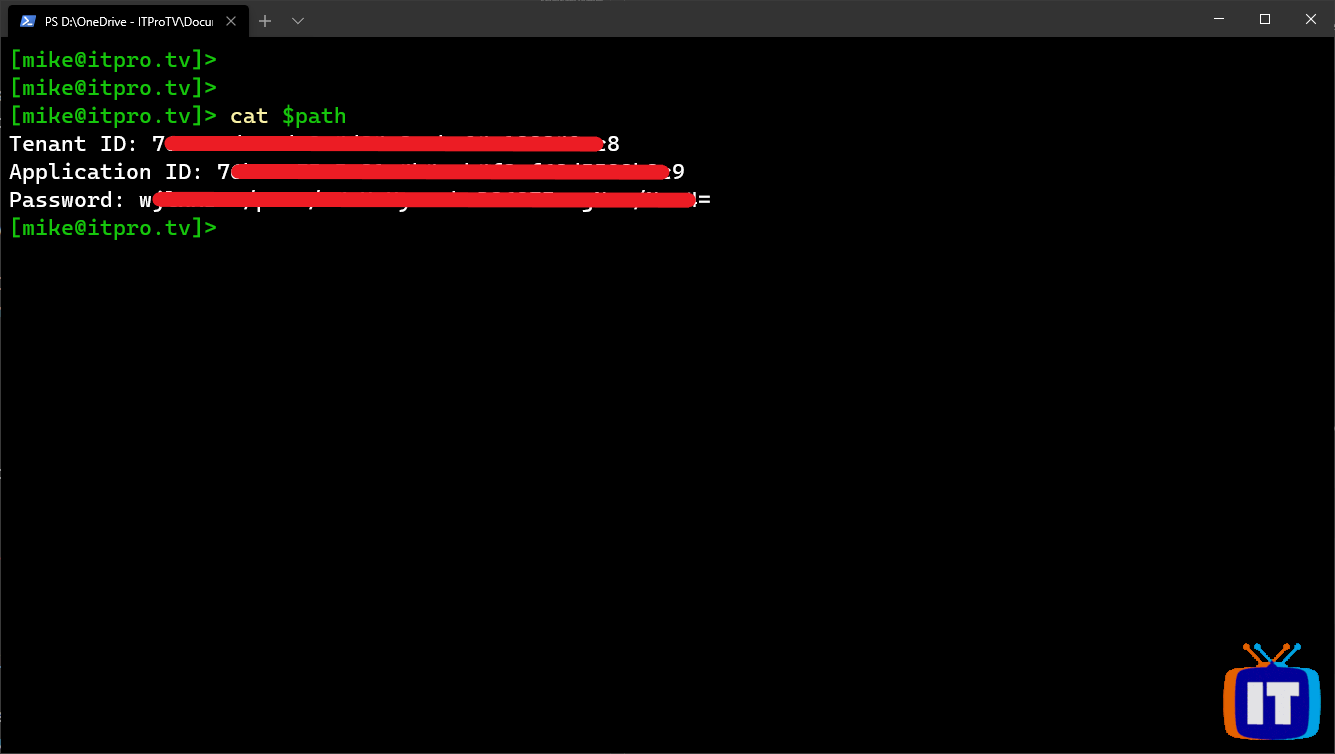
Create a role assignment in Windows Virtual Desktop
Next, you will create a role assignment, which will allow the service principal you created to sign in to Windows Virtual Desktop.
Sign in to Windows Virtual Desktop with an account that has permissions to create role assignments:
Add-RdsAccount -DeploymentUrl "https://rdbroker.wvd.microsoft.com"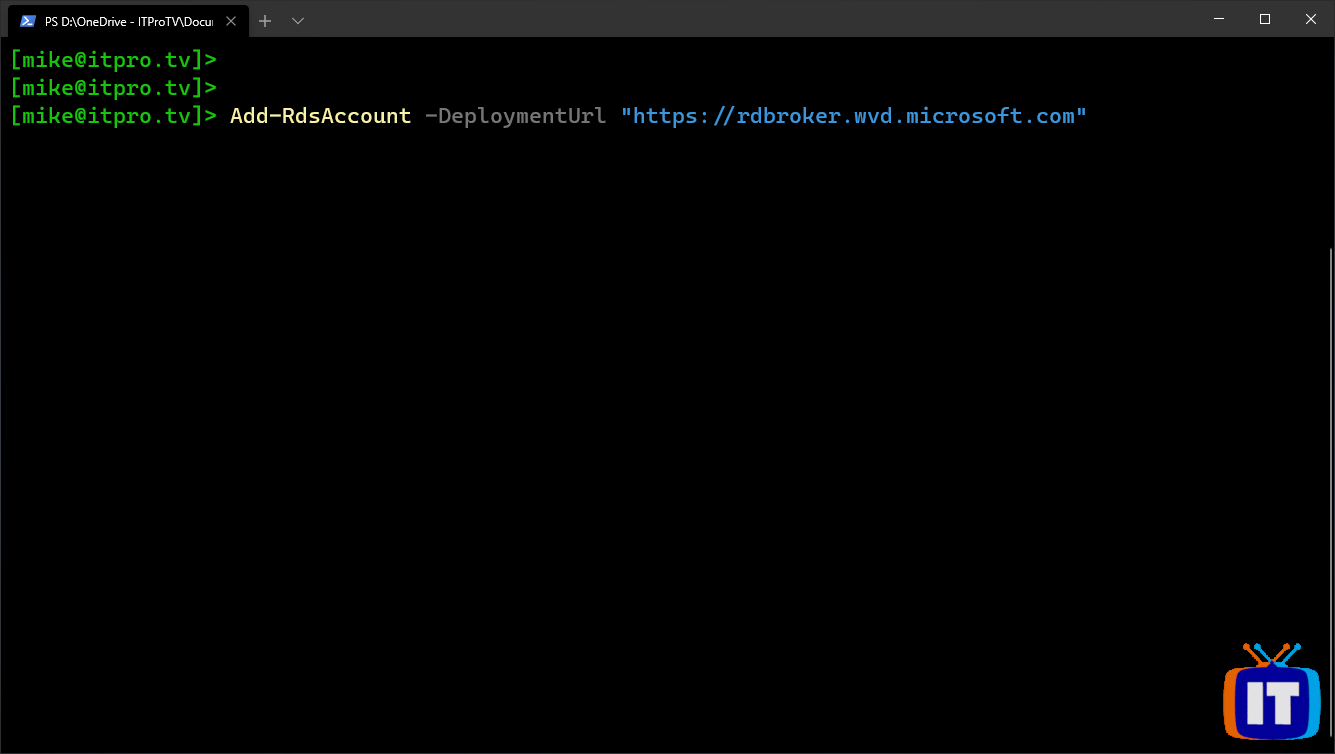
Once you’ve authenticated, verify the name of the tenant you created in Part 2:
Get-RdsTenant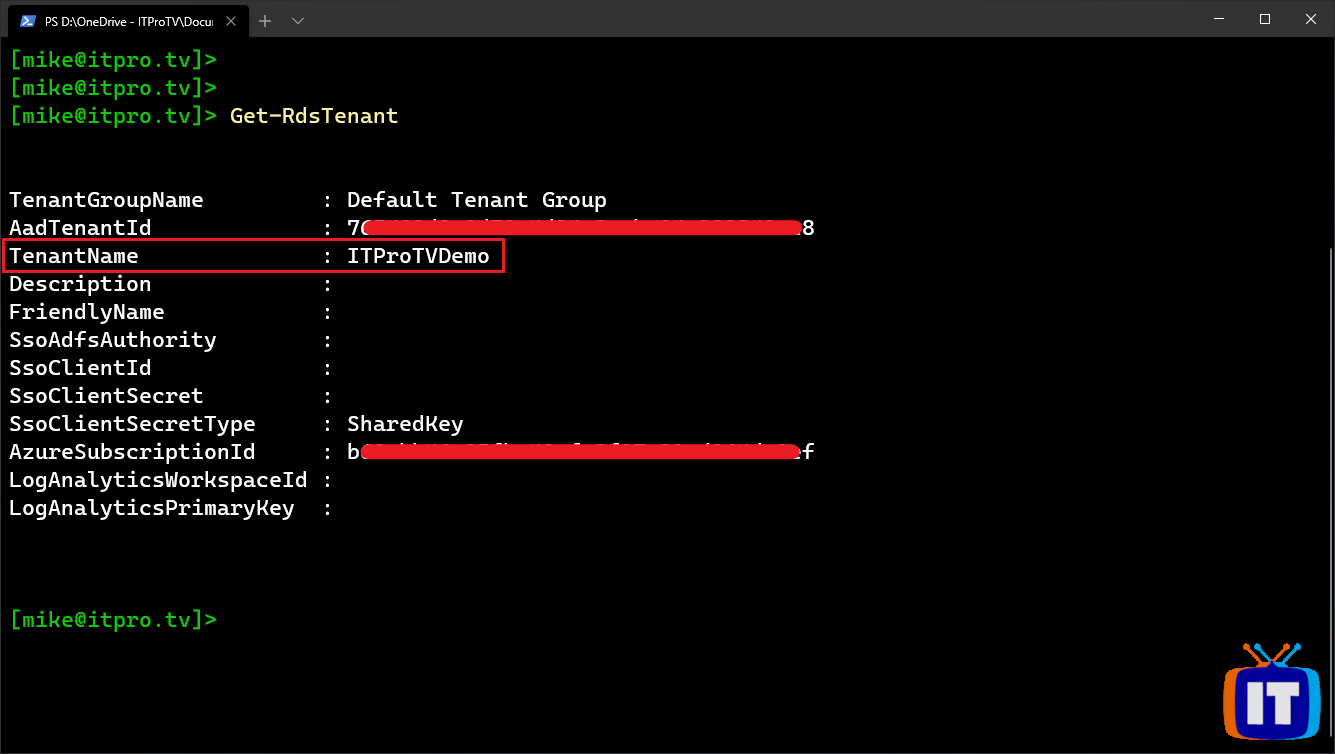
Using the name of your tenant, run the following cmdlets to create the role assignment:
$tenantName = "Your tenant name goes here"
New-RdsRoleAssignment -RoleDefinitionName "RDS Owner" -ApplicationId $svcPrincipal.AppId -TenantName $tenantName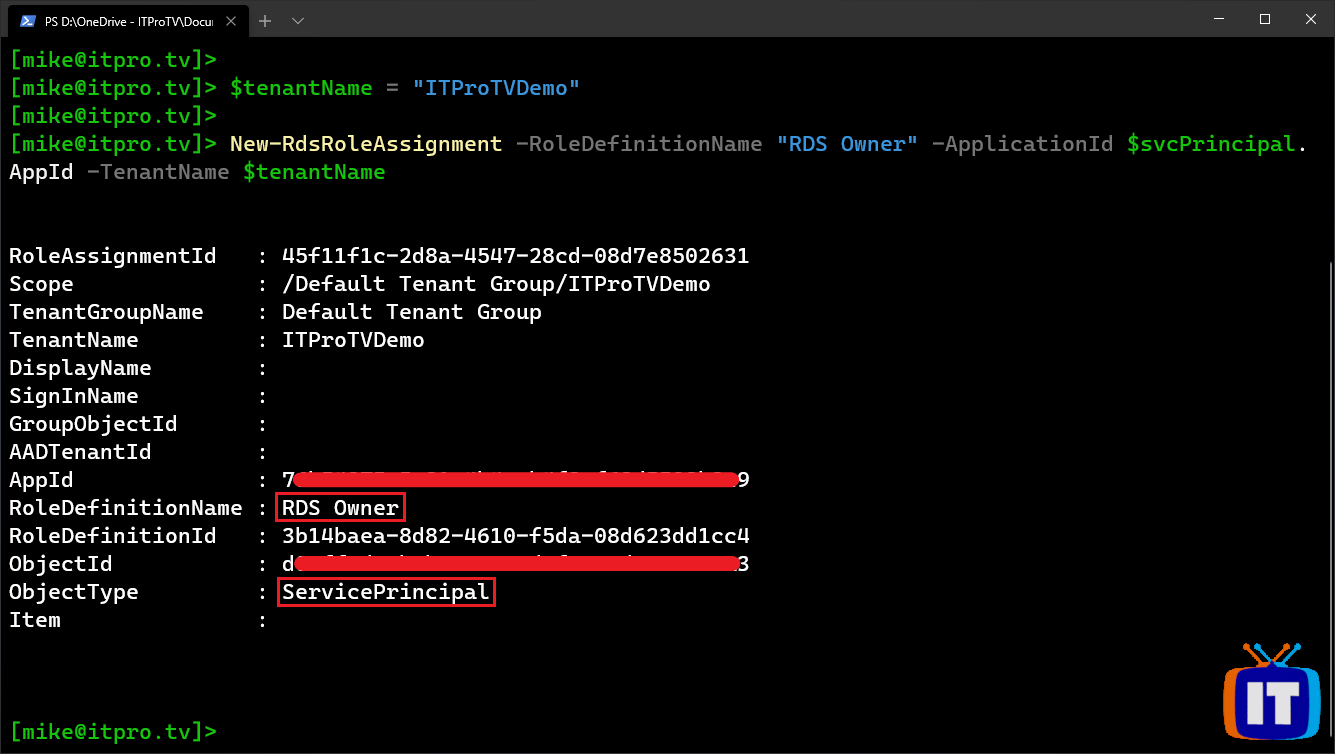
Remember, if you closed your PowerShell session since creating the service principal, the variables in the previous cmdlet and the following cmdlets won’t work. Instead, you will need to paste the actual values from wherever you recorded them. You did record them, right?!
Sign in with the service principal
Now you need to verify the service principal can sign in to your Windows Virtual Desktop tenant by running the following cmdlets:
$creds = New-Object System.Management.Automation.PSCredential($svcPrincipal.AppId, (convertTo-SecureString $svcPrincipalCreds.Value -AsPlainText -Force))
Add-RdsAccount -DeploymentUrl "https://rdbroker.wvd.microsoft.com" -Credential $creds -ServicePrincipal -AadTenantId $aadContext.TenantId.Guid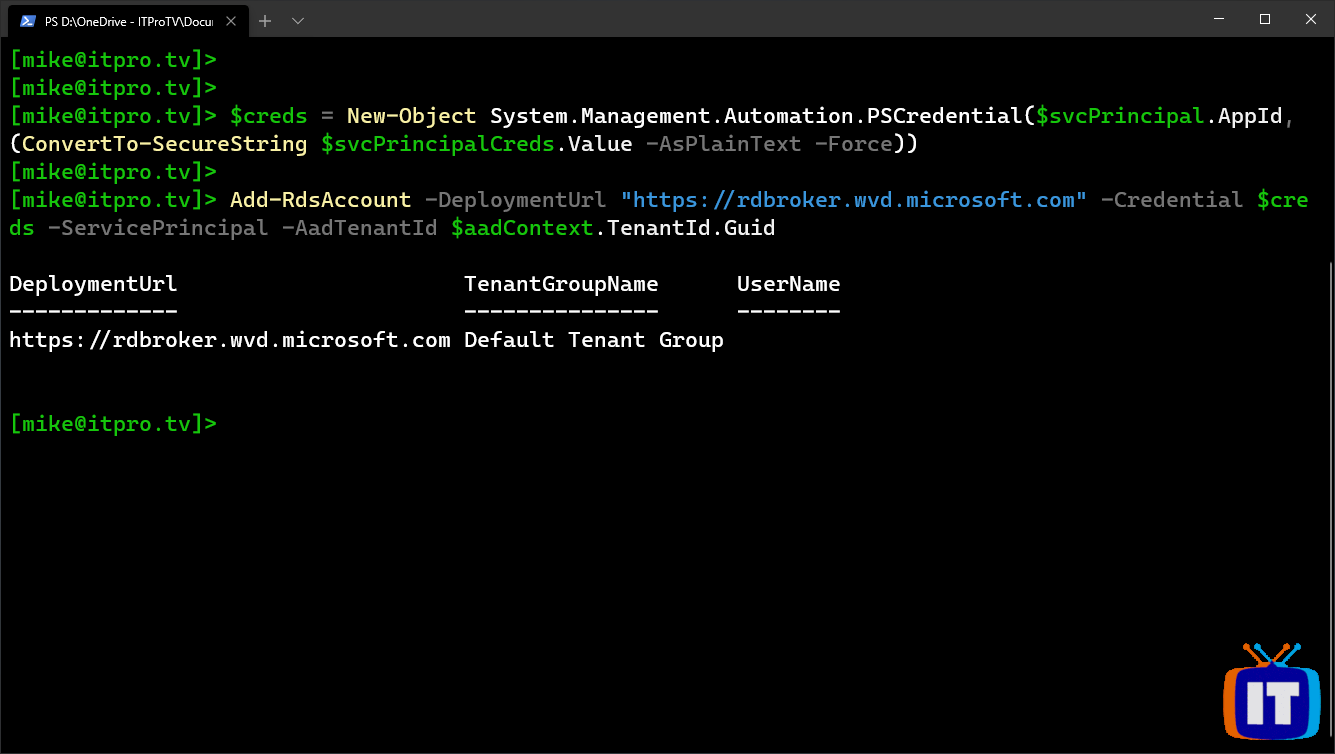
Once you connect, verify the service account has access to your Windows Virtual Desktop tenant by running some cmdlets, like:
Get-RdsTenant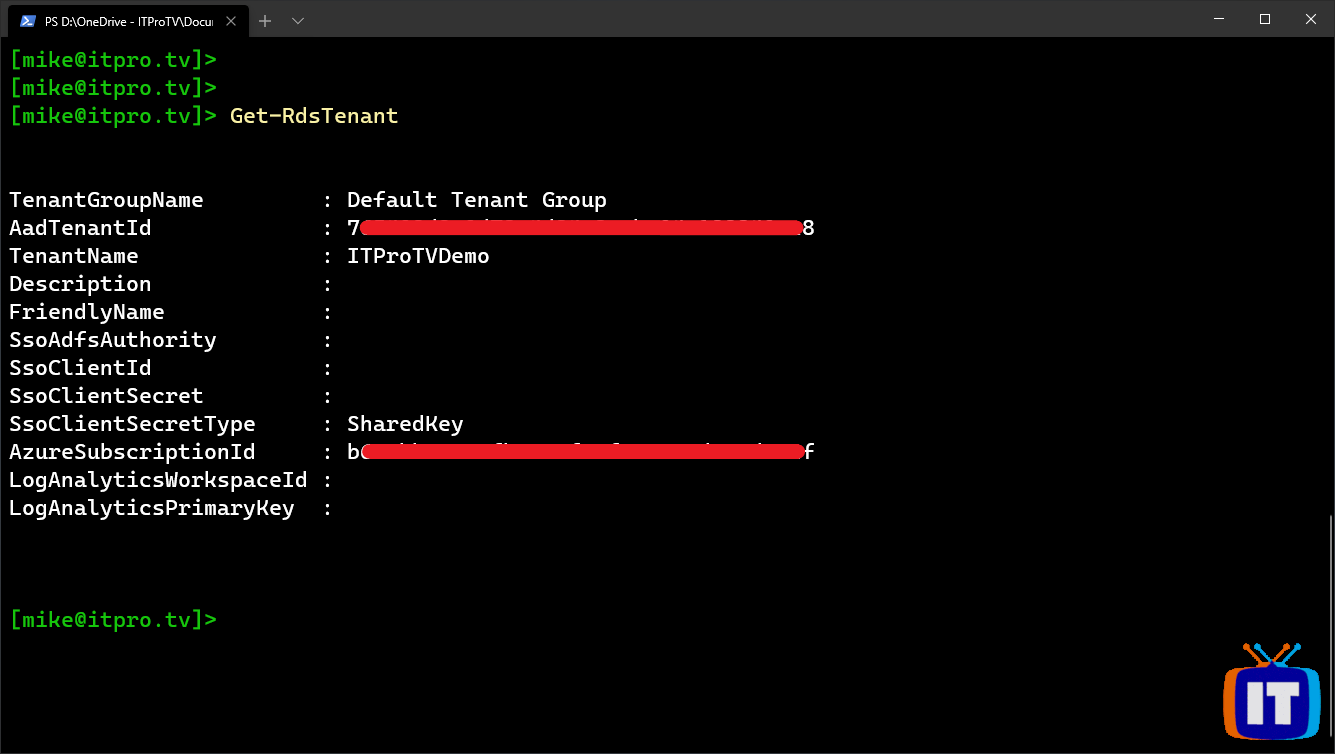
What’s next?
If everything went well, you have successfully created a service principal, and created a role assignment in your Windows Virtual Desktop tenant. You have also verified the service principal can sign in to your Windows Virtual Desktop tenant. The next step is to use the service principal to create a host pool. I will show you how in Part 4.
Make sure to check out more great articles at ITProTV
I’ve also done two webinars on Windows Virtual Desktop. You can watch them on demand for free:
Comments are closed