How many times has this happened to you? You shoot a video on your phone, import it to your computer, only to realize it was filmed sideways or upside down. Did you know Windows 10 has a built-in app that can rotate a video?
If you are on an Apple device, you have iMovie. But if you are a Windows guy like me, it has not been easy. If you search the web, you will find guides that show you how, using third party software like VLC. Rotating the video is not too bad, but saving the rotated video is a complicated process. Windows Movie Maker was a native app that could rotate videos, but it is no longer available for download. Websites that offer free downloads of Movie Maker are not offering the real thing, and those downloads may contain malware, viruses, or hidden costs.
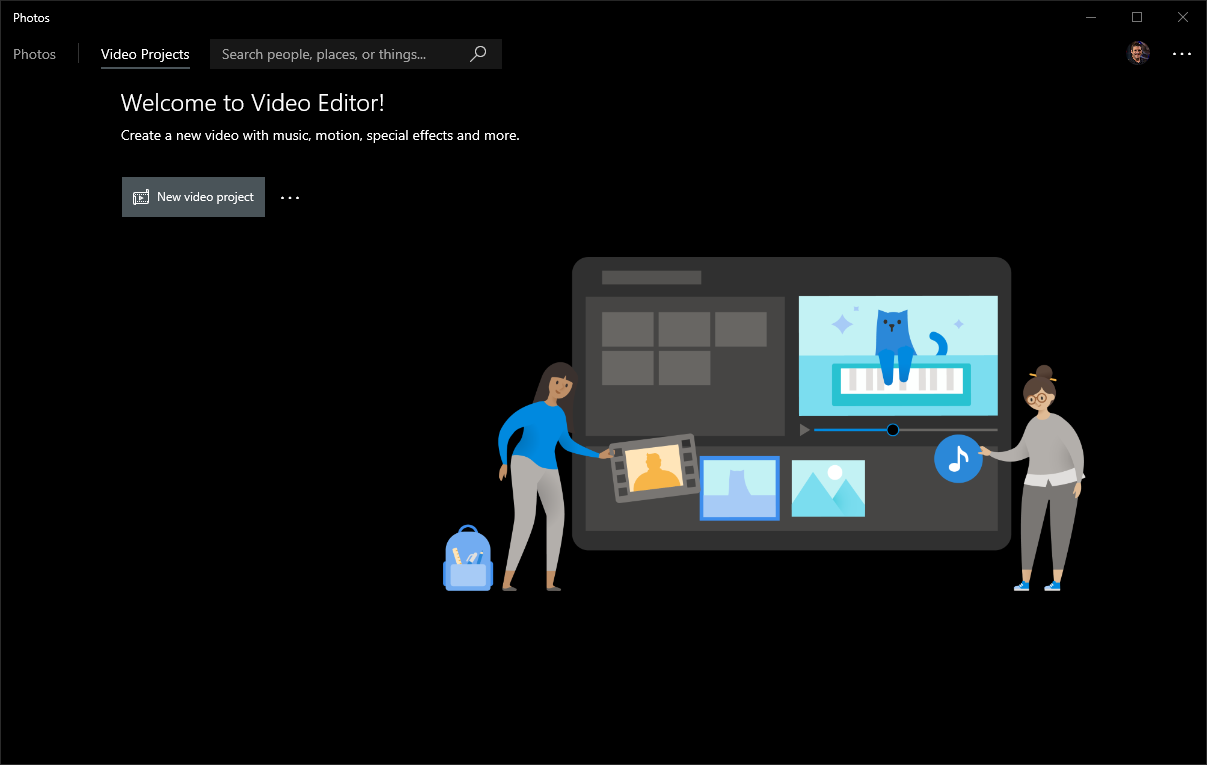
All is not lost for Windows users. Windows 10 has an app called Video Editor, which can rotate a video. Even better, you can rotate a video with just a few clicks!
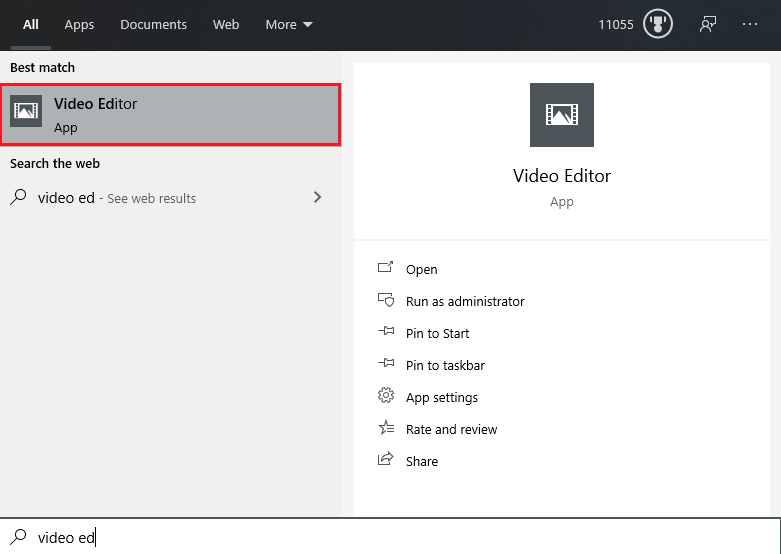
Begin by launching the Video Editor app. Open your Start Menu and type video editor and click on the app.
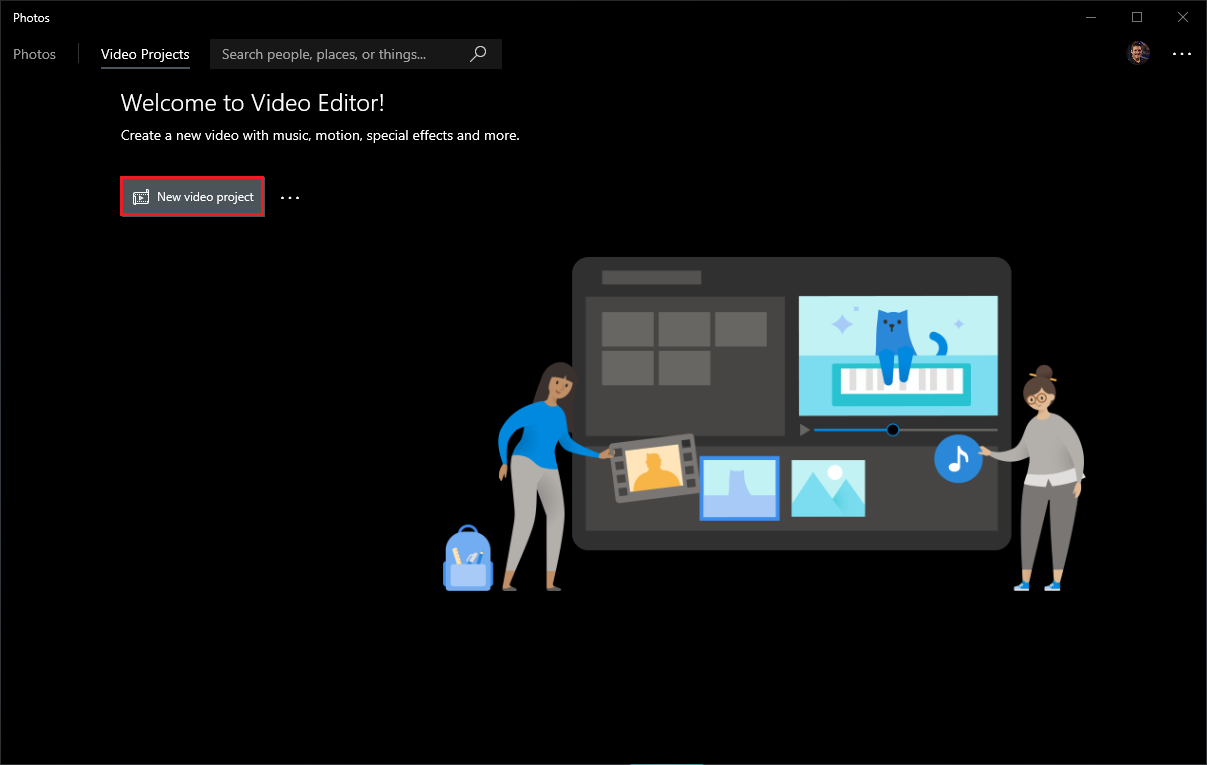
In the Video Editor app, start by selecting New video project.
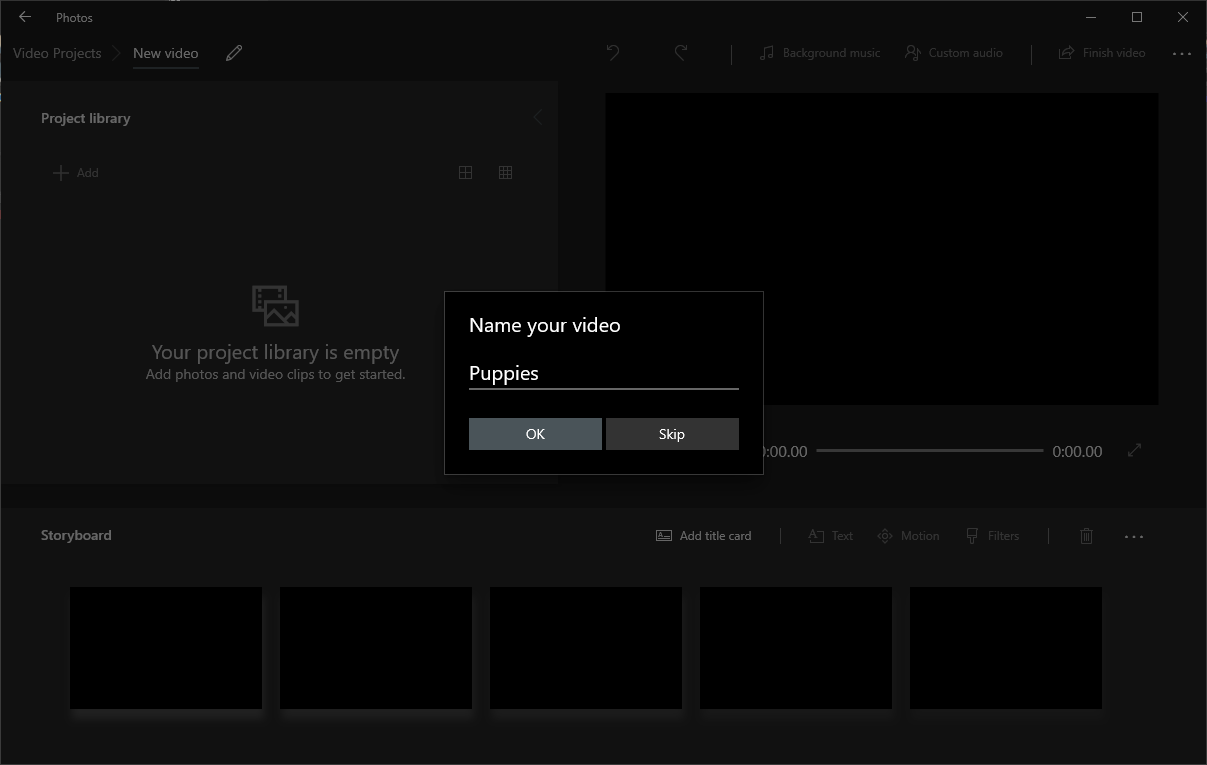
Video Editor will prompt you to name your video. Provide a name and then select OK.
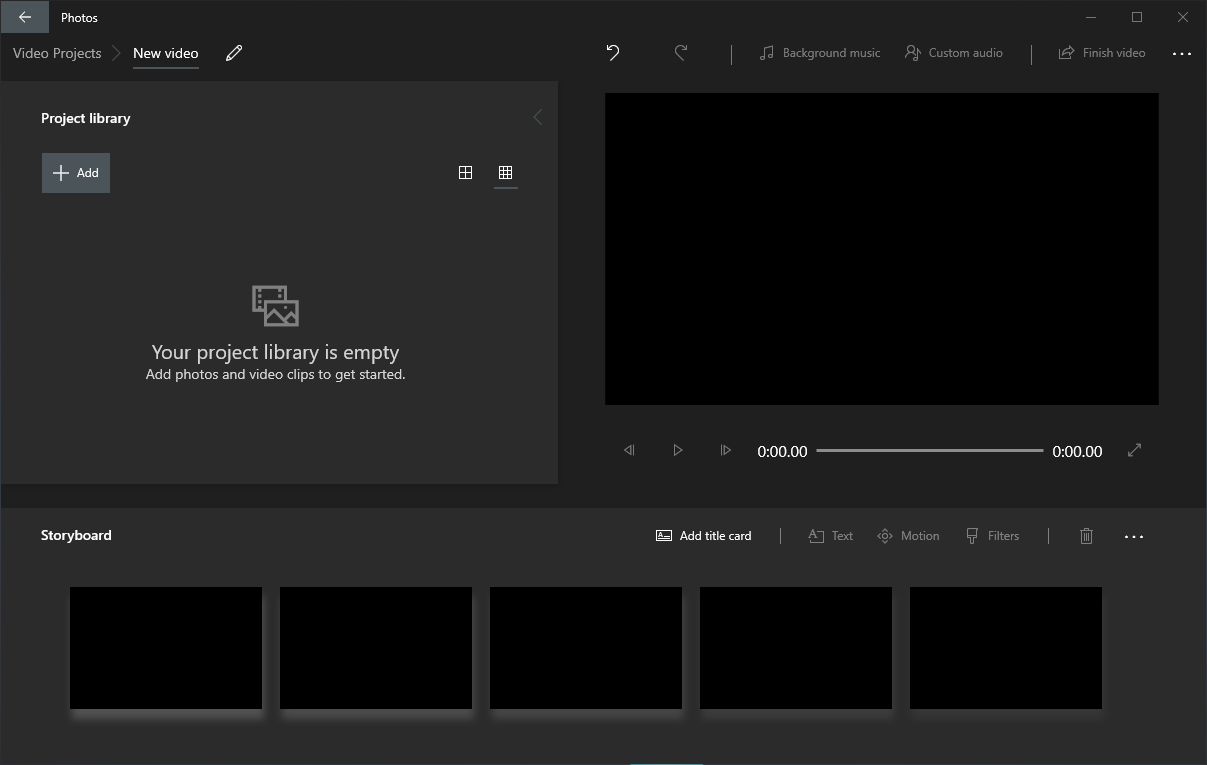
Now you will be presented with an empty Project library.
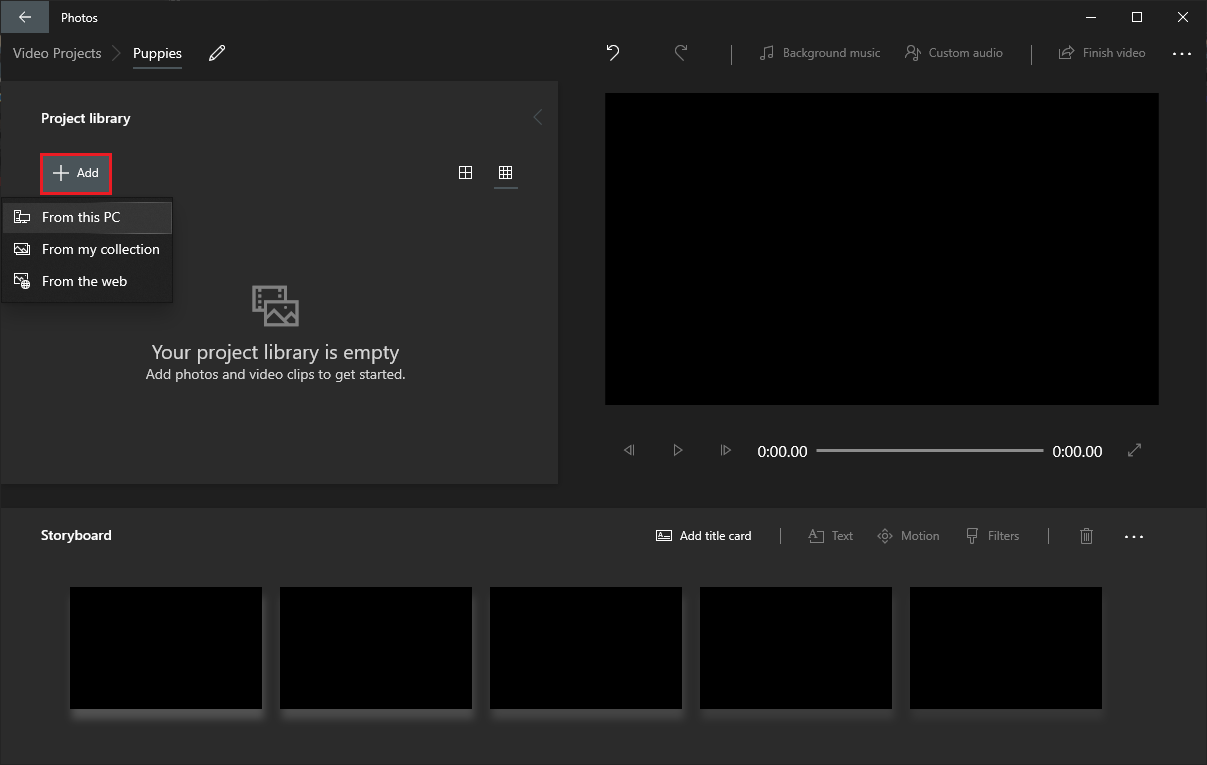
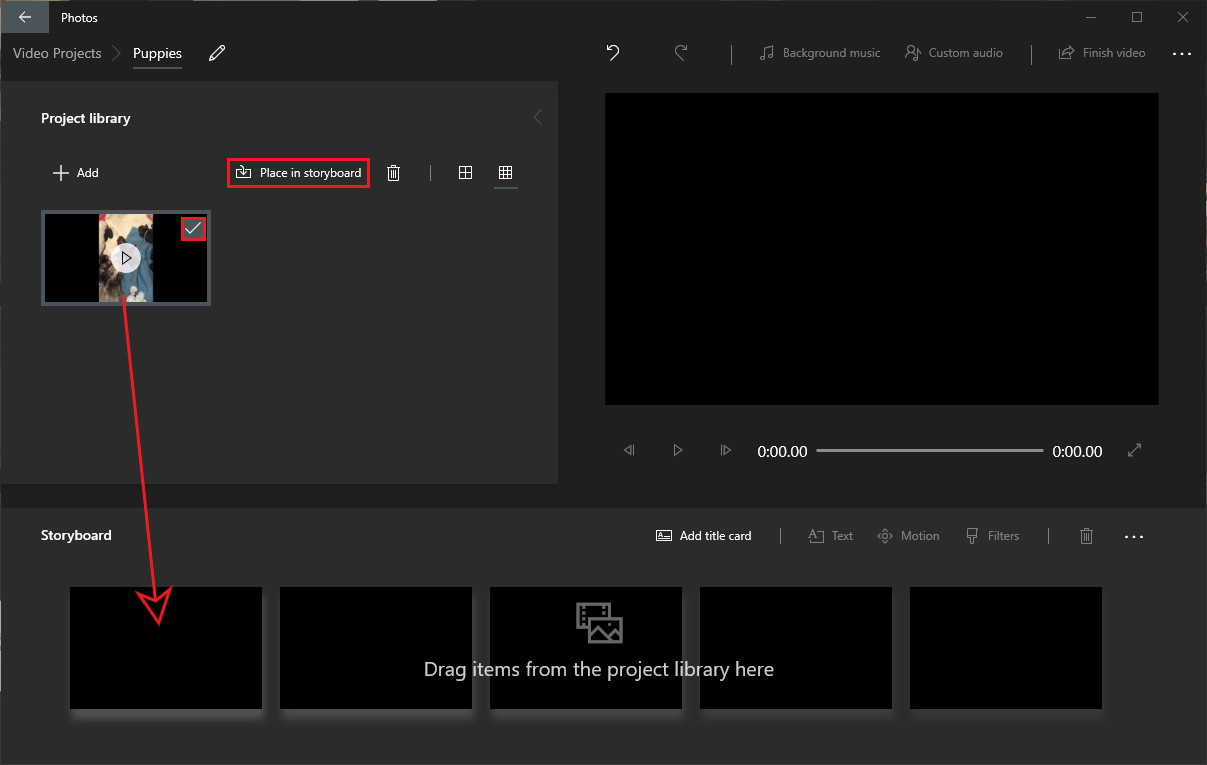
You need to add the video you want to fix to the project. You can drag and drop the file or click +Add and browse for the file.
The video you select will be added to the Project library. If you were combining videos to make one long video, you would continue to add videos to the Project library. In this case, you only need the one video you want to rotate.
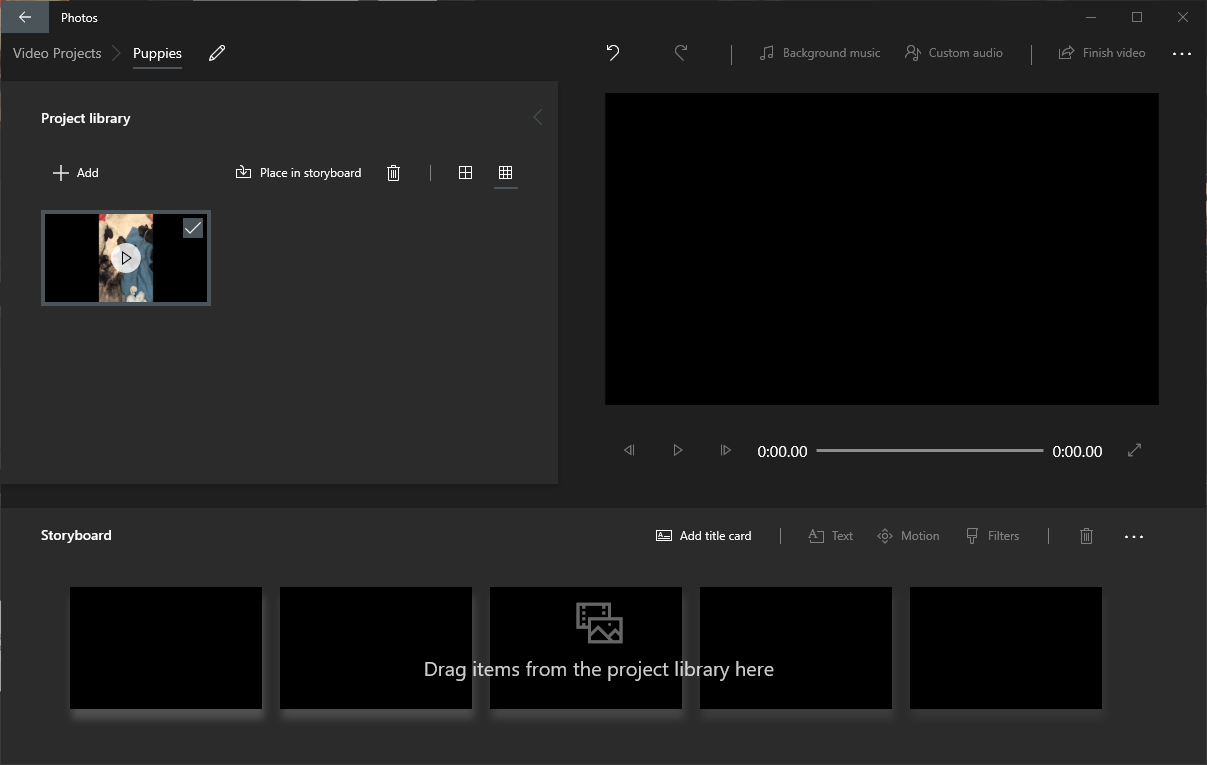
Next, you will add the video to the Storyboard by either selecting the video in the Project library and clicking Place in storyboard or dragging the video from the Project library to the Storyboard. Again, if you were stitching videos together, you would add each one to the Storyboard, but you just need the one video you are trying to rotate.
Once you add the video to the Storyboard, you will see a preview appear. You can see the current rotation and will be able to tell when you have rotated the video to the correct orientation.
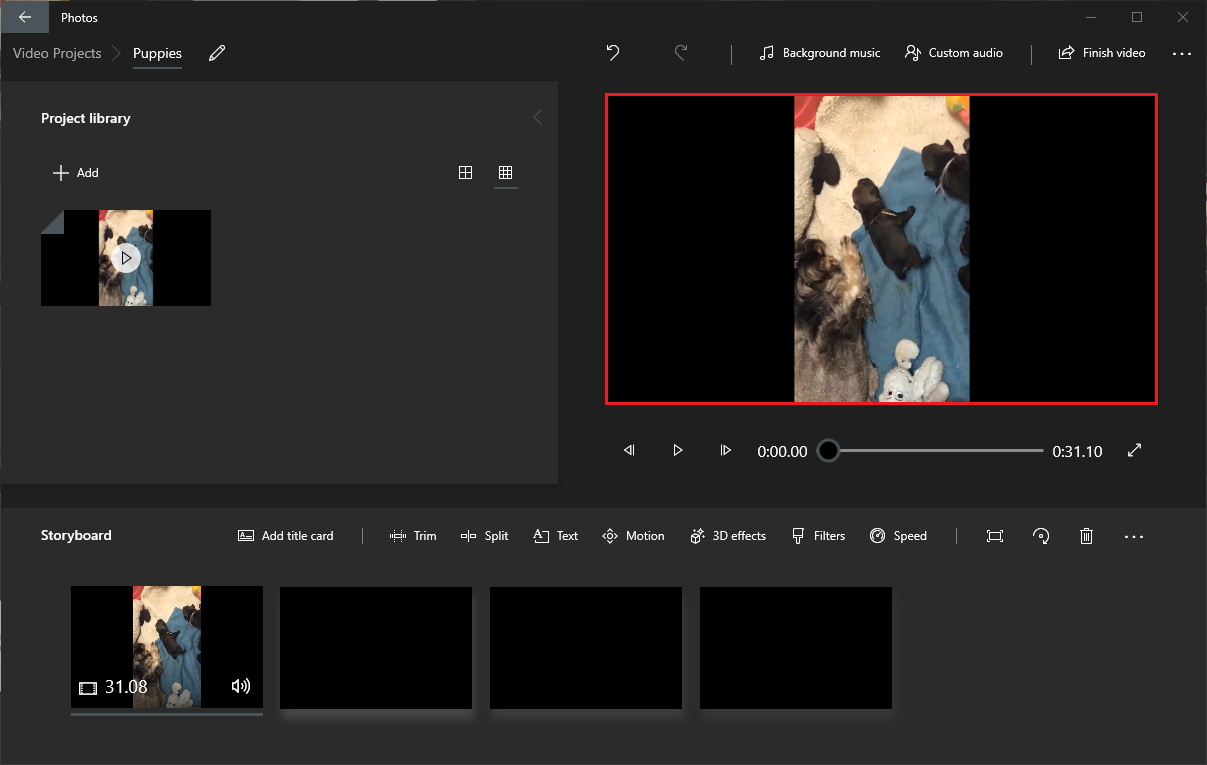
Click the Rotate button on the Storyboard menu until the video is rotated correctly in the preview.
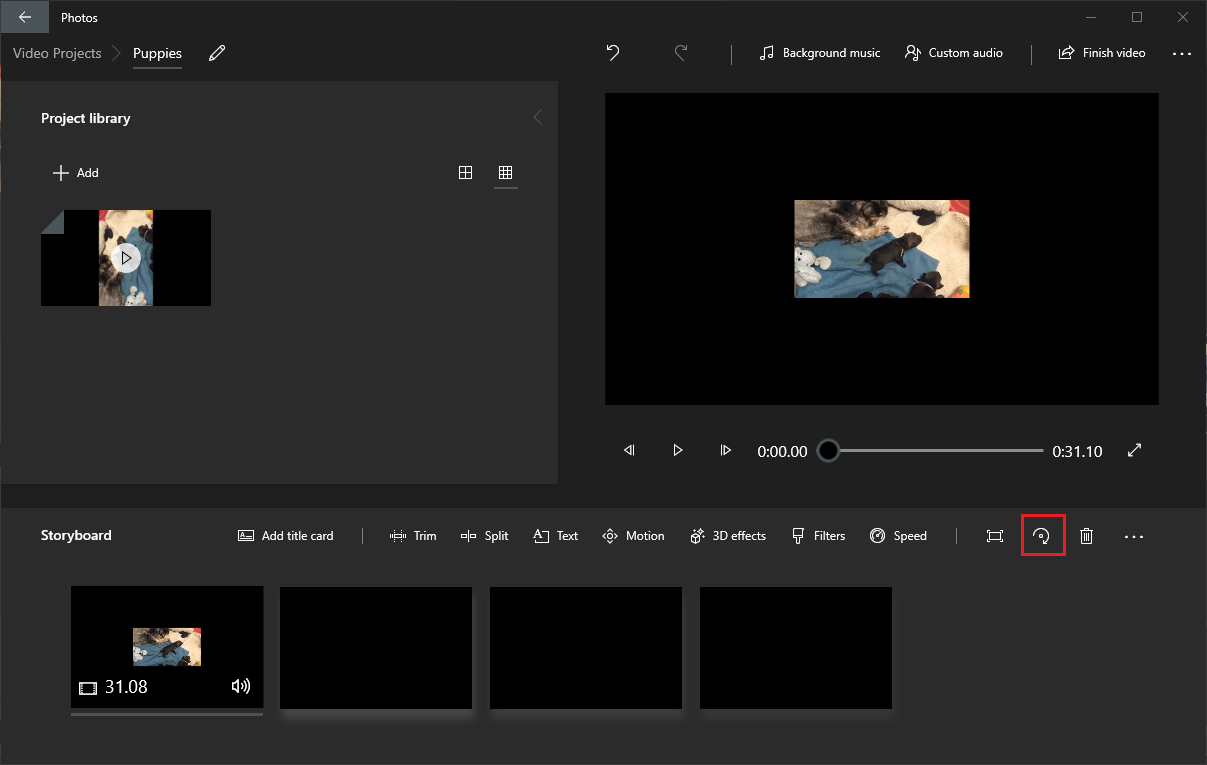
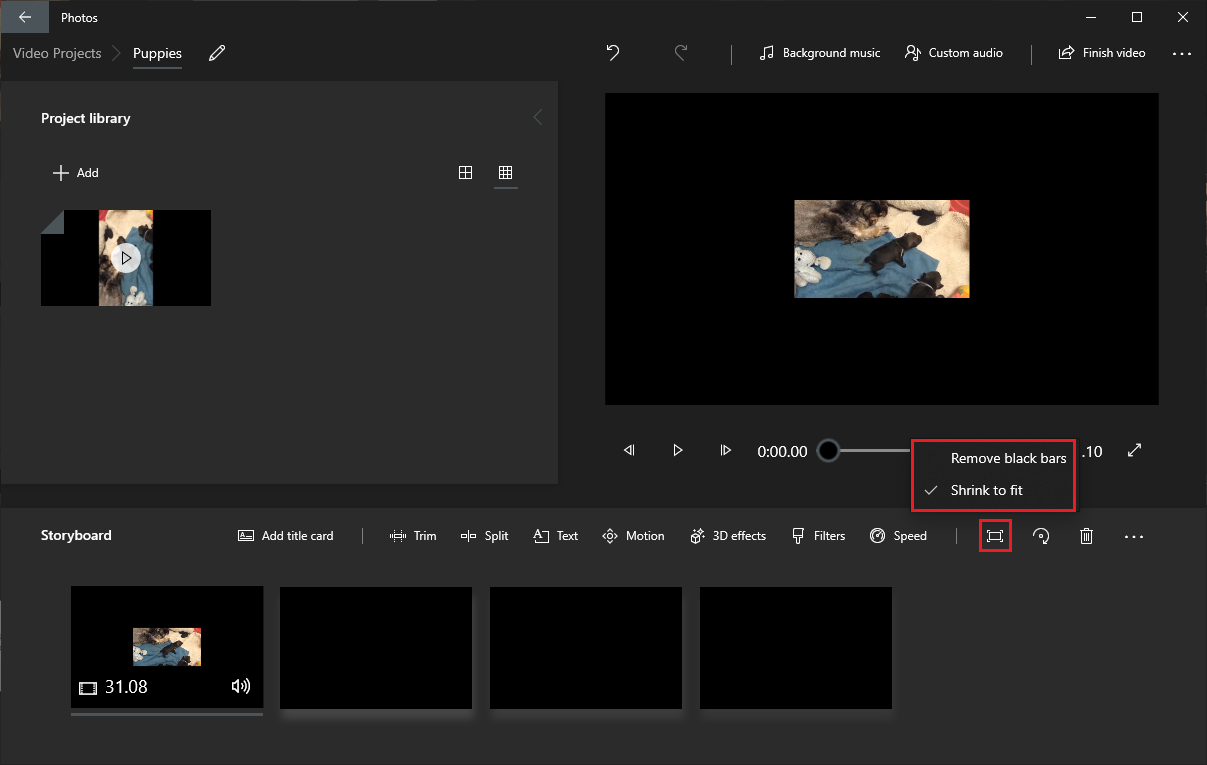
Sometimes after you rotate the video, you will need to adjust the size as well. To the left of the rotate button is a resize button. There are two options, Shrink to fit and Remove black bars. Try them both and see which one looks best.
Now your video should be rotated and sized correctly.

All that is left is to save your work. In the top right corner, select Finish video to begin exporting your new video.
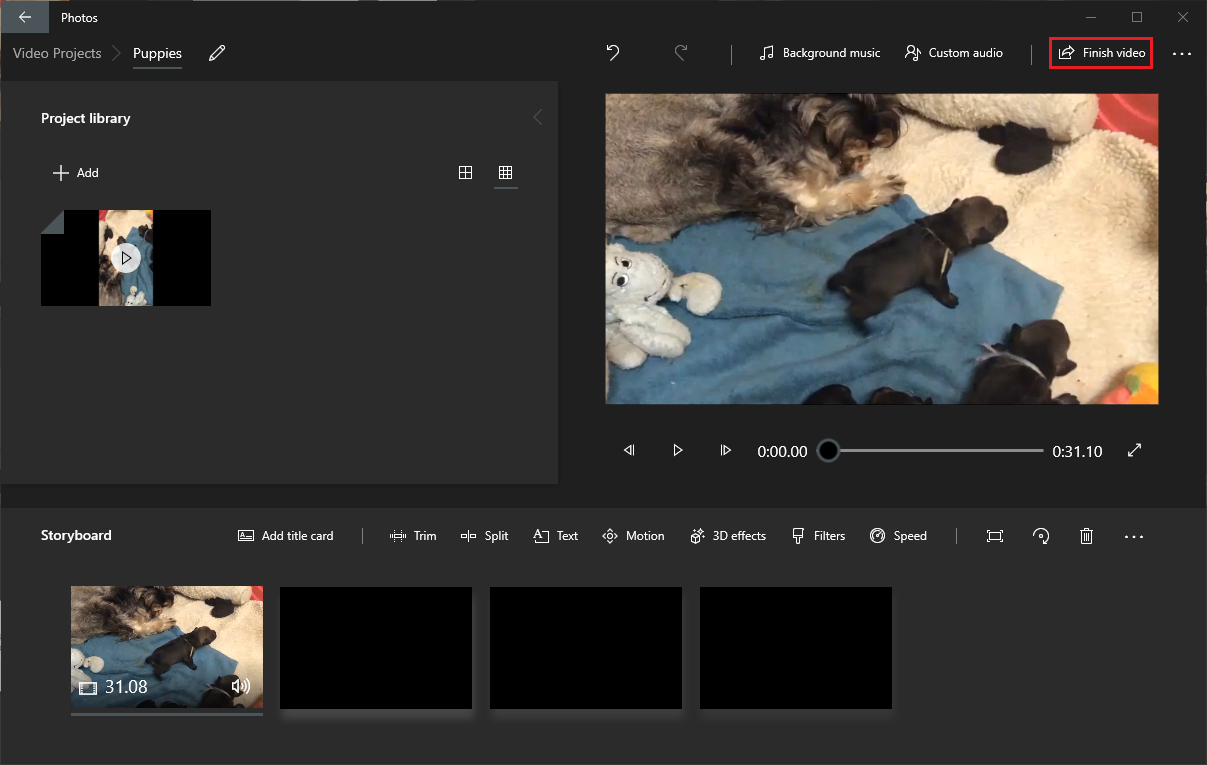
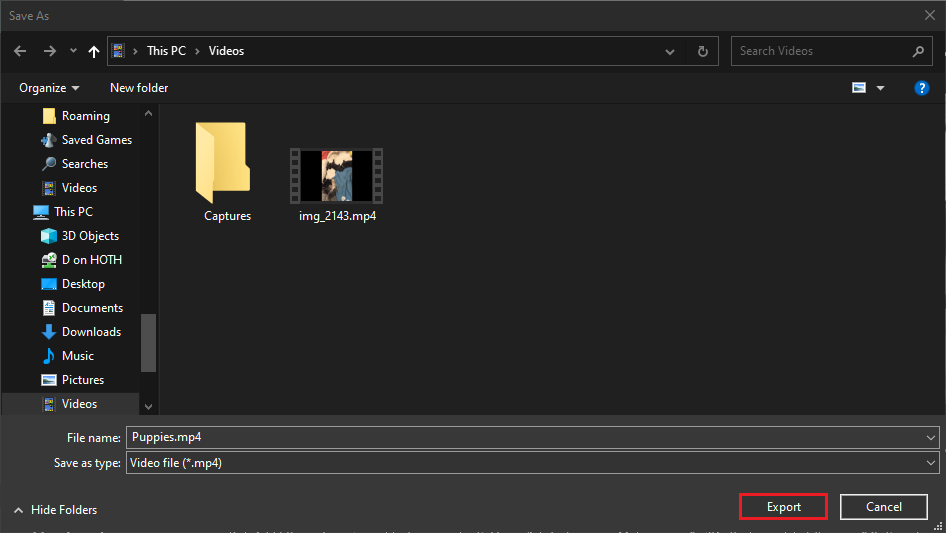
For the video quality, choose High 1080p for the best quality. If you need a smaller file size, you can choose a lower video quality. Then select export to begin the process.

The Save As dialog should already have the name you gave your project, or you can change it now. Select a location to save the video and click Export.
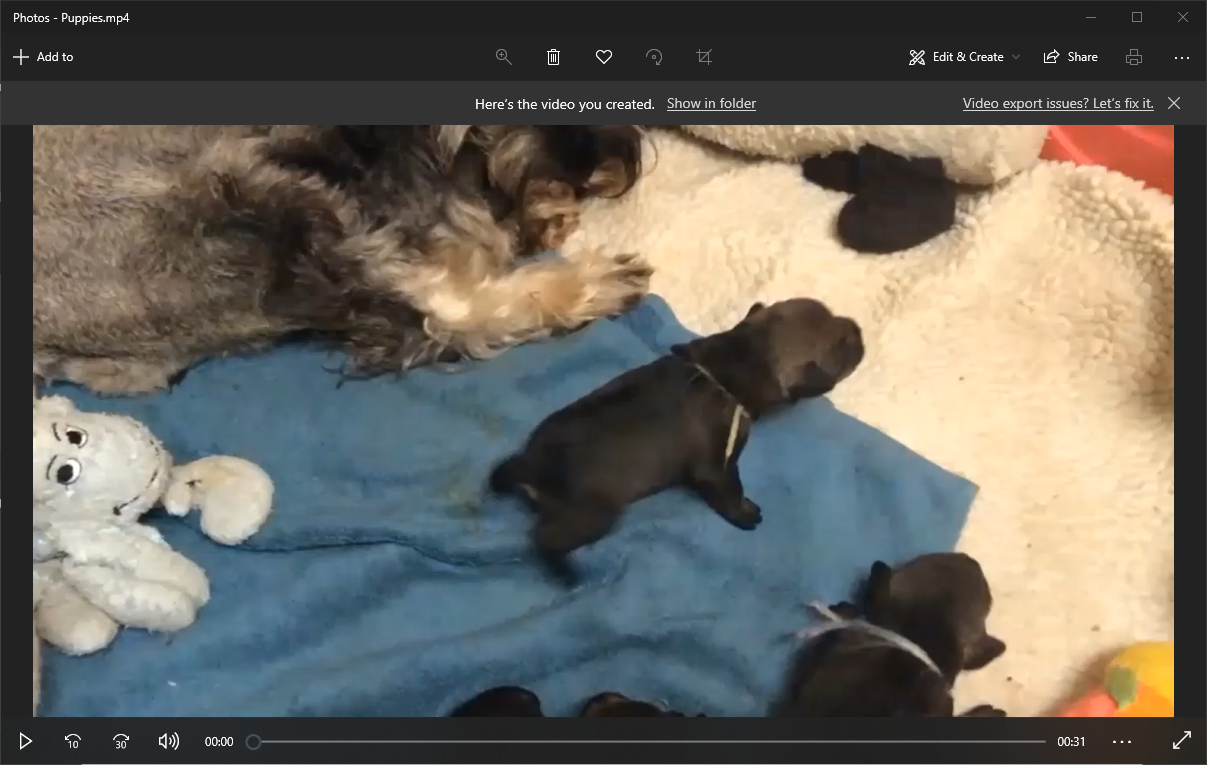
There you go, you have rotated and saved your video! When the export completes, you can watch your new video, in the proper orientation. If you want, you can delete the original sideways video.
Comments are closed